February 12, 2020
Welcome to Radial Maps in Ayoa
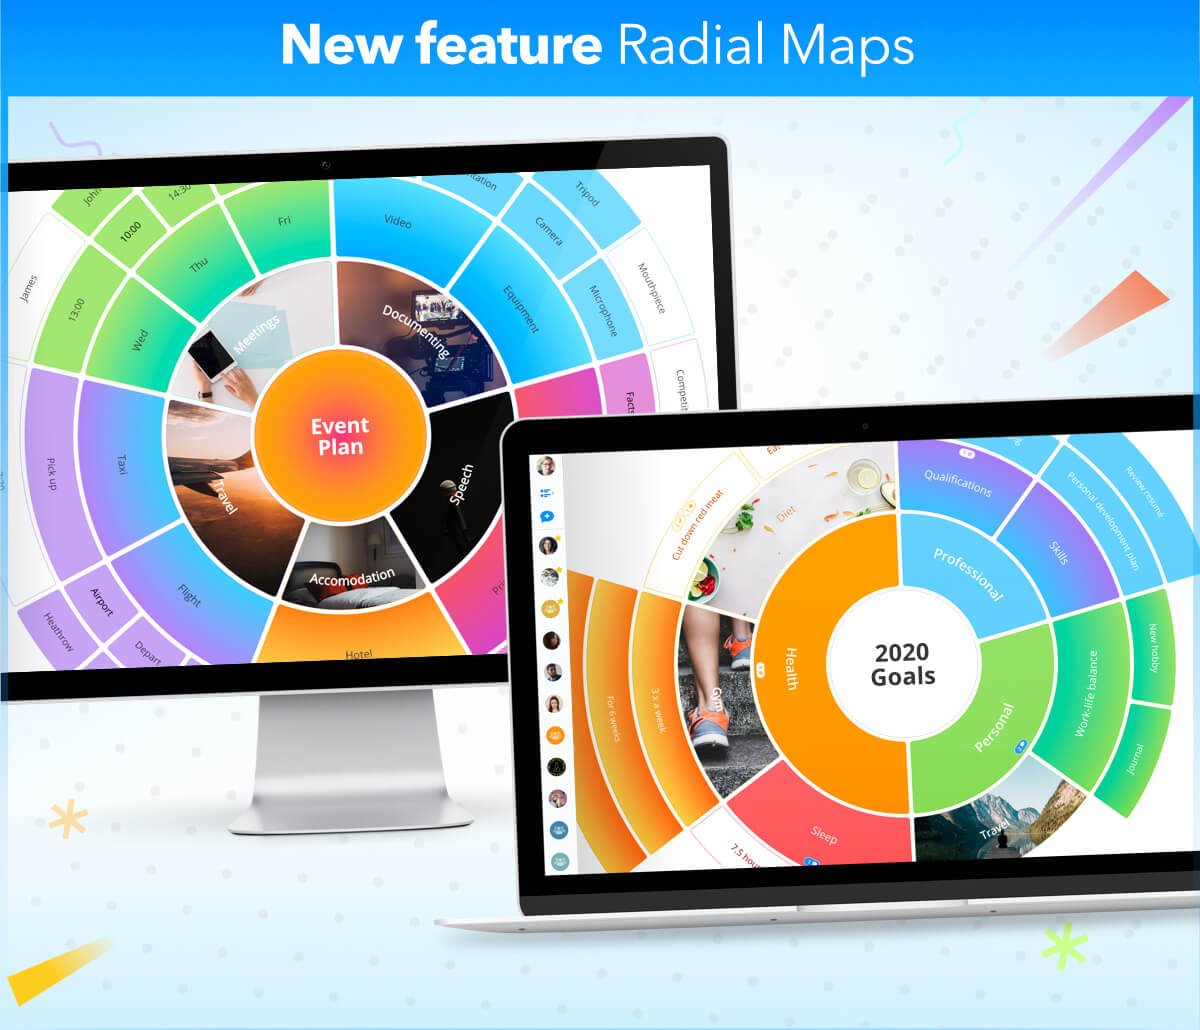
Need a boost when it comes to achieving your goals, or are you just unsure of where to start with a big project? Maybe you have tonnes of great ideas and simply want to visualize them? If you can relate to one or all of these problems, we have the perfect solution for you! Say hello to Ayoa’s newest feature, Radial Maps.
Our productivity is something we all want to improve, but it isn’t something that comes naturally to everyone. In fact, according to Douglas Vermeeren, a best-selling author that has published various books on setting goals, 70% of people fail to achieve the goals they set for themselves. The reasons for this vary from person to person, but in many cases, it’s because goals are easily forgotten or just never actioned.
Don’t let your goals be just another statistic. Discover the power of Radial Maps for helping you put your to-do list into action and turn your goals into a reality…
What is a Radial Map?
Radial Maps are a great tool for anyone that has goals they want to achieve, or tasks that they need to complete. This unique tool enables you to map out everything you need to do in a highly visual format. Radial Maps are inspired by the classic pie-chart, with each segment indicating a specific idea.
Like a traditional Mind Map, Radial Maps start with a central idea (such as ‘Yearly Goals’) in the middle of the map. Different segments sit around this central idea which will be more specific (e.g. ‘Health’ and ‘Finances’). From this, child segments radiate outwards and go into even more detail of what needs to be actioned to achieve the central goal.
The benefit of Radial Maps in Ayoa is that accountability can be easily added to segments in the form of tasks with Due Dates and Reminders. This makes keeping on top of deadlines an absolute breeze!
How to use Radial Maps in Ayoa
Start with a central idea
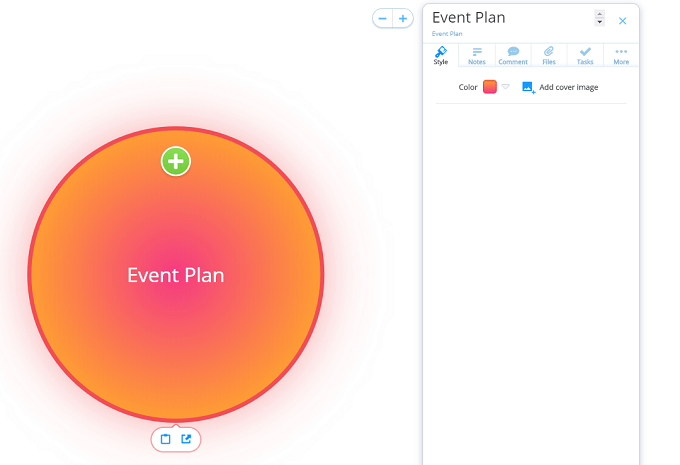
To create a Radial Map in Ayoa, go to create a new Mind Map from the homepage, then give it a name and choose to start with a blank Mind Map. Remember, the name you give your Map at this stage will become the central idea. If you need to change this later, click on the central idea, then click on the text at the top of the side panel. To activate the side panel for a segment, click on the blue information (‘i’) icon that appears when you select a segment.
Whether your central idea is ‘Fitness Journey’, ‘Rebranding Project’, ‘New Year Resolutions’ or whatever else you’re aiming to achieve, it can be as vague or specific as you like!
Next, when you’re asked ‘How would you like to get started?’, please choose Radial Maps from the range of Mind Mapping options.

Add more detail
Now that you have your central idea, it’s time to start adding segments. Add your first one by hitting ‘tab’ on your keyboard or by clicking the green ‘plus’ icon on your screen. Simply start typing to give the segment a name.
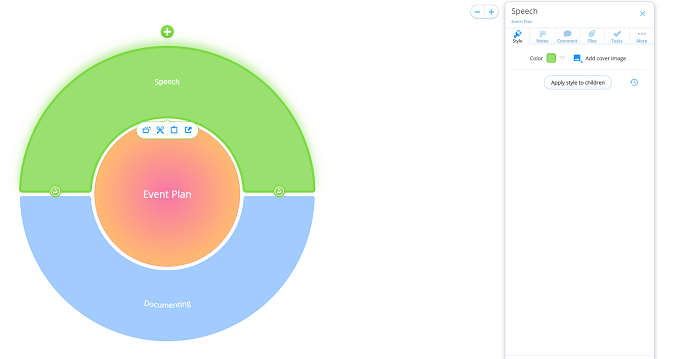
To continue adding segments to your central idea, use ‘enter’ on your keyboard. You can also do this by clicking on the green arrows between your segments. This enables you to determine where you want the new ones to sit within your Map.
Easily adjust the size of each segment by clicking and dragging the double-ended arrow that appears when you hover over the left side of a segment (where it begins). This can be used to indicate levels of priority or the length of time it will take to complete a step.
You can then add children to your segments by clicking on the plus icon that appears when you select a segment. Or, simply hit the ‘tab’ key when the segment is selected.
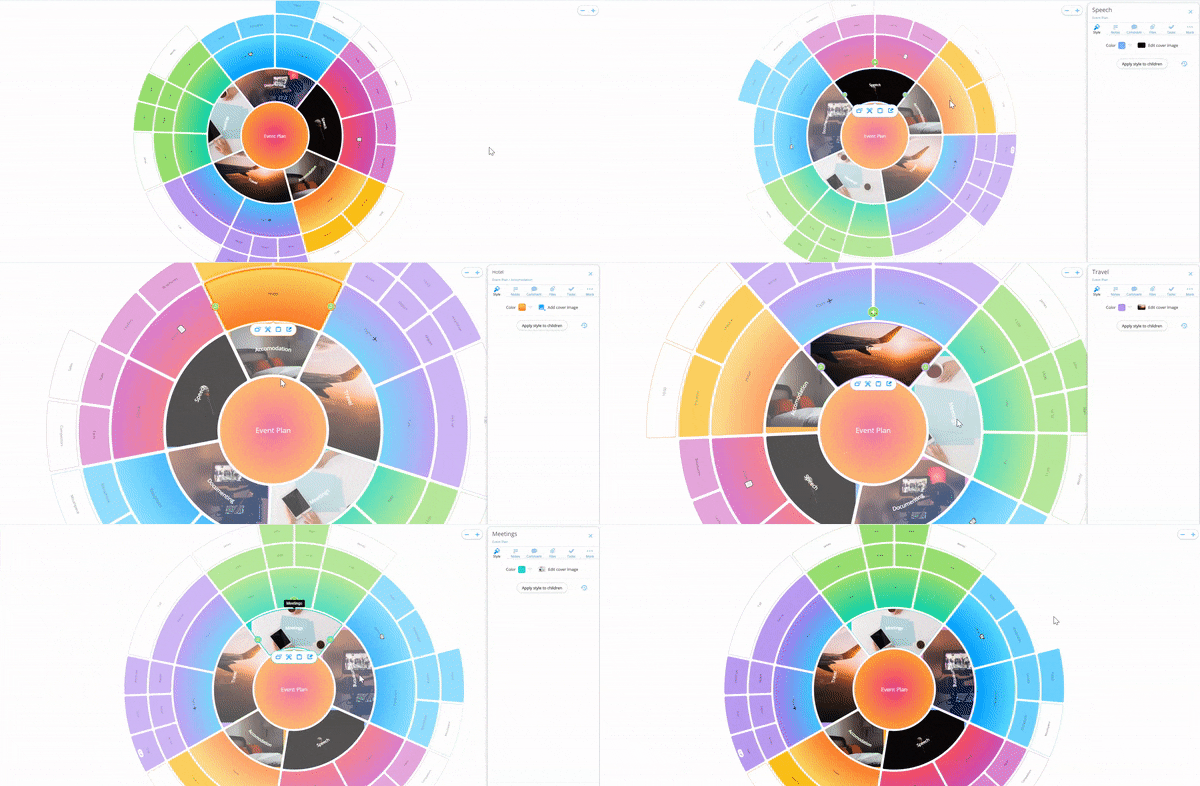
Quick tip: When you click on the segment you want to view, the Map will automatically spin, bringing the chosen segment and its children to the top. This makes it easy to read and focus in on important presentations – which is great for presentations!
Turn segments into actions
Select a segment and use the side panel to add tasks, files, comments and images. When adding a task, you can plan it in your personal Planner or a Task Board you share with your team, then add Start and Due Dates, set Reminders, and indicate a task’s Importance, Urgency and Progress.
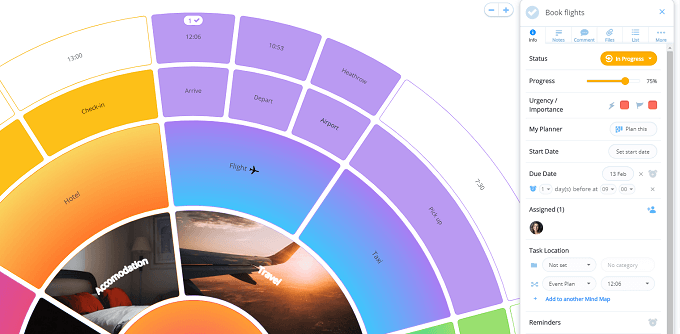
In the side panel, you can also change the style of your Radial Map to suit your needs and preferences. This includes editing the colors of your text and segments, as well as adding cover images and emojis! To change a segment’s text, click on the text at the top of the side panel.
You can also ‘copy’, ‘cut’, ‘paste’ or ‘export’ a branch (segment), by selecting the option you need from the small toolbar that appears underneath the highlighted segment.
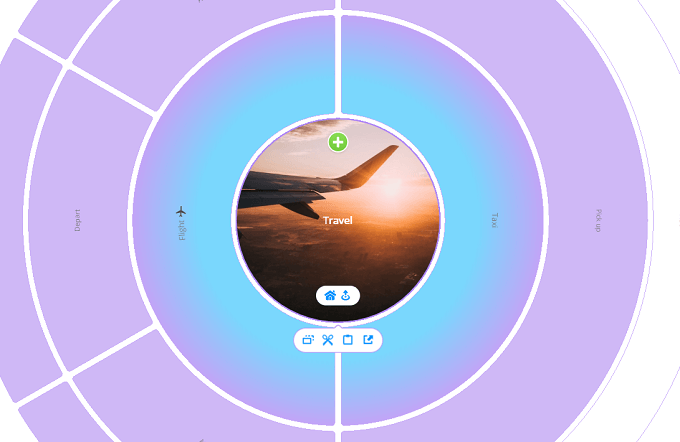
Want to zoom in on a particular segment and cut out the noise? Simply double click on a segment. To zoom back out of a segment and view your full Map, just click on the blue ‘home’ icon that appears on the left-hand side.
Quick tip: Want to only see specific levels of your Radial Map? Click the Radial icon (in the bottom right-hand side of the page, next to the arrows to zoom in and out of your map). Here you will be able to click and drag the level display to customize how much of the map is visible.
Share it with others
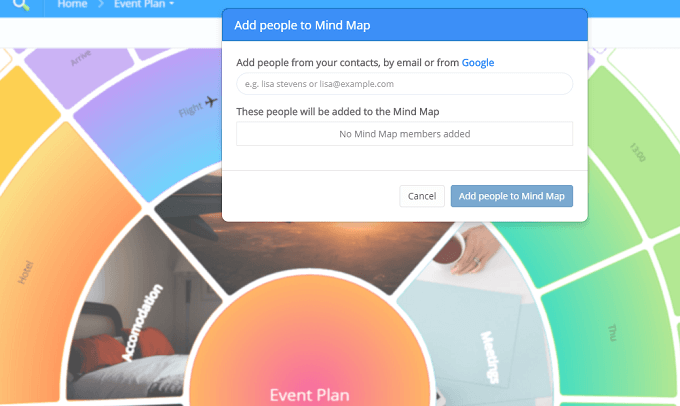
Now that you have your Radial Map, use the ‘Add’ button to invite others to your Map so they can view it, or add their own ideas, attachments, and comments. You can also export your Radial Maps as PDFs so you can print them out or share them with others outside of Ayoa!
Ready to start meeting your goals? Structure them in a creative and visually-stimulating format with Radial Maps in Ayoa – sign up for free today to get started! Want access to all of Ayoa’s great features and be able to create unlimited Task Boards and Mind Maps? We have a range of pricing plans for individual users and teams.

